
Easy Headless Wordpress with Nuxt & Netlify II
Part 1 deals with setting up Wordpress as a Headless CMS.
Part 3 covers deploying with Netlify and adding a build hook to our CMS.
Now that the JSON API endpoints are setup, the data from our Wordpress posts and media files can be queried, manipulated and rendered to static HTML files using Vue and Nuxt.
Create Nuxt App
Start a brand new nuxt project from the command line with
npx create-nuxt-app wp-nuxt
For purposes of this demo use the following settings:
? Project name: wp-nuxt
? Programming language: JavaScript
? Package manager: Npm
? UI framework: Tailwind CSS
? Nuxt.js modules: Axios
? Linting tools: ESLint, Prettier
? Testing framework: None
? Rendering mode: Universal (SSR / SSG)
? Deployment target: Static (Static/JAMStack hosting)
? Development tools: jsconfig.json (Recommended for VS Code if you're not using typescript)
With this configuration, and if you are using VS Code, I recommend placing the following in your workspaces’s .vscode/settings.json to avoid conflicts between prettier, eslint, and Vetur and to correctly enable auto formatting of code on save.
settings.json
{
  "prettier.disableLanguages": ["javascript", "vue"],
  "[javascript]": {
    "editor.formatOnSave": false
  },
  "[vue]": {
    "editor.formatOnSave": false
  },
  "editor.codeActionsOnSave": {
    "source.fixAll.eslint": true
  },
  "eslint.validate": ["javascript", "vue"],
  "vetur.validation.template": false,
  "css.validate": false
}
Nuxt gives you access to Vuex (Vue’s state management library) out-of-the-box. Navigate to the store/ directory and create a new file index.js. Most of our data fetching and manipulation will take place in this file.
store/index.js
export const state = () => ({
  events: [],
});

export const getters = {};

export const mutations = {};

export const actions = {};
Custom Fields
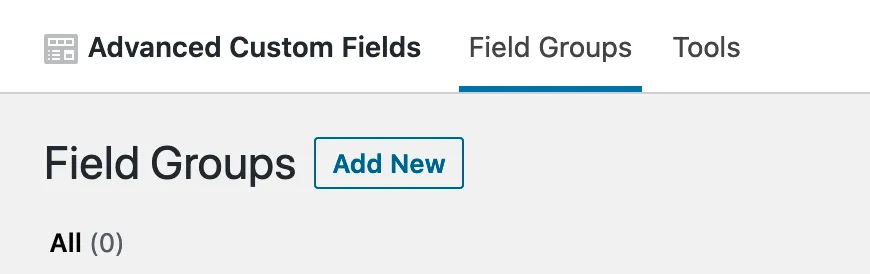
Before we can query the data we need to generate it in Wordpress. Add a few of the new custom post types we created in Part 1 and add some ACF fields to them. To do that, go to Custom Fields -> Field Groups -> Add New in the Wordpress dashboard. If you’re new to ACF the documentation is actually pretty good.
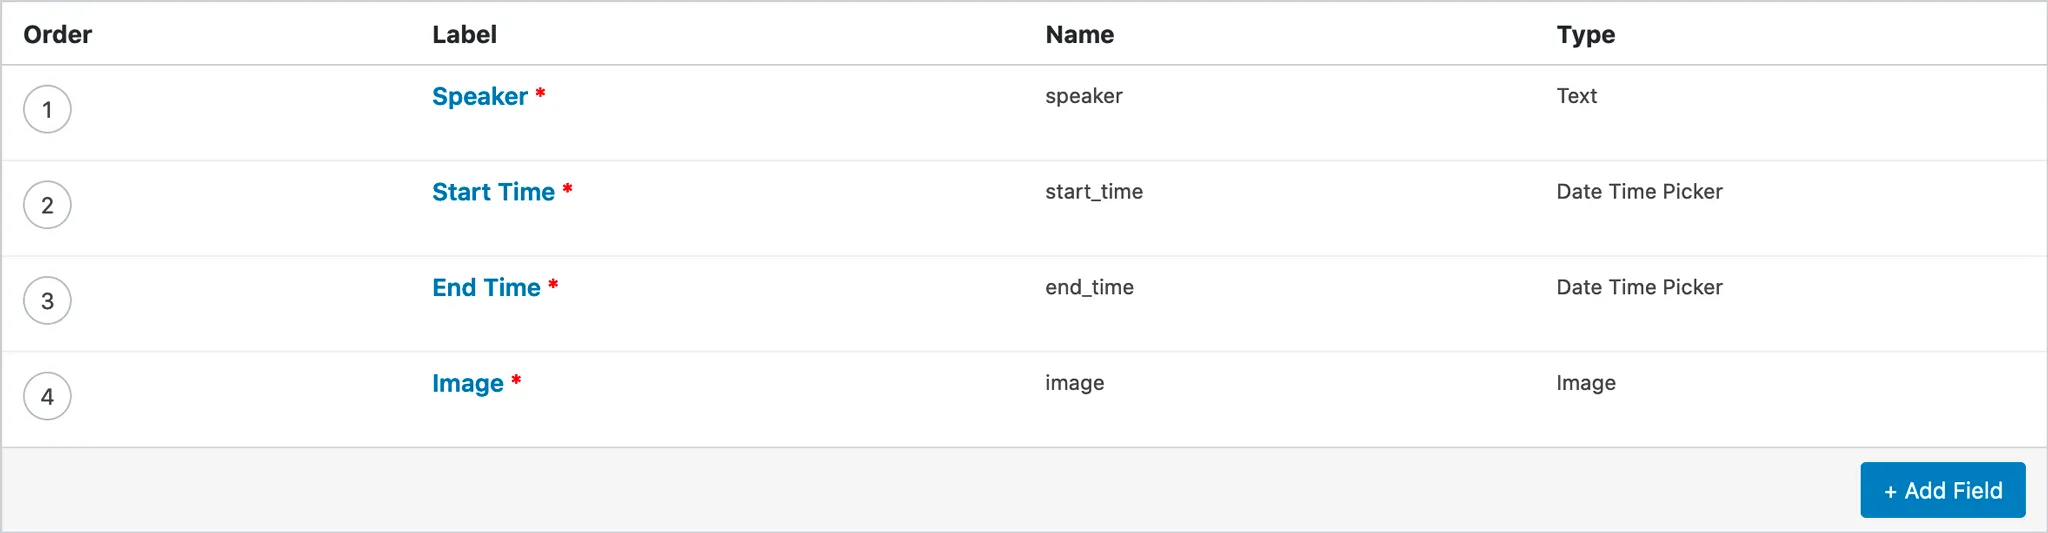
For this demo, create a new Field Group named Events and set the Location to “Show this Field Group if - Post Type is equal to Event”.

Add 4 Required fields with the following settings:
Label: Speaker
Name: speaker
Type: Text

Label: Start Time
Name: start_time
Type Date Time Picker

Label: End Time
Name: end_time
Type: Date Time Picker

Label: Image
Name: image
Type: Image
Return Format: Image Array
Add several Events and fill in the required fields as well as add some text to the default content area.
Navigate to http://headless.local/wp-json/wp/v2/events?page=1&per_page=100&_embed=1 and you should see your data being returned, including an acf object with keys that match the Name you entered in your custom fields.
Fetching Data
Back in your Nuxt repo in the Vuex store add a mutation for updating the events array, and an async action for fetching the events data.
store/index.js
export const mutations = {
  SET_EVENTS: (state, events) => {
    state.events = events;
  },
};

export const actions = {
  async getEvents({ state, commit }) {
    // if events is already set, stop
    if (state.events.length) return;
    try {
      let events = await this.$axios.$get(`/wp-json/wp/v2/events?page=1&per_page=100&_embed=1`);
      // filter out unnecessary data
      events = events.map(({ id, slug, title, content, acf }) => ({
        id,
        slug,
        title,
        content,
        acf,
      }));
      commit('SET_EVENTS', events);
    } catch (err) {
      console.error('getEvents', err);
    }
  },
};
The @nuxtjs/axios module that was installed when we ran create-nuxt-app gives us access to this.$axios.
Using $get gives immediate access to the data and doesn’t require the usual .then(res => res.data) at the end of the call, which is a pretty cool feature IMO.
Before this will work as is though, we have to add our baseURL to the axios object in the nuxt config file.
nuxt.config.js
axios: {
  baseURL: 'http://headless.local',
},
Now we call the action in the created hook of a component.
index.vue
<script>
import { mapState, mapActions } from 'vuex';
export default {
  computed: {
    ...mapState(['events']),
  },

  created() {
    this.getEvents();
  },

  methods: {
    ...mapActions(['getEvents']),
  },
};
</script>
Alternatively, you could access the Vuex state and actions with this.$store.state.events and this.$store.dispatch('getEvents'), but I prefer to use the Vuex map helpers because it looks cleaner and shows in one place all of the global state and actions that are being used in a particular component.
Run Server Side
In order to make sure our fetch request runs on the server when we are generating our static HTML, we can add a Nuxt plugin. Create a file called data.server.js inside the plugins/ directory.
plugins/data.server.js
export default async ({ store }) => {
  await store.dispatch('getEvents');
};
And add the plugin to your nuxt config.
nuxt.config.js
plugins: ['~/plugins/data.server.js'],
Render to the page
Now we can use the data in the component’s template.
index.vue
<template>
  <div class="max-w-screen-lg mx-auto p-10">
    <div v-for="(event, index) in events" :key="event.id">
      <div :key="index" class="lg:flex lg:max-w-screen-lg pb-8 lg:pb-16">
        <div class="lg:w-1/4">
          <img
            v-if="event.acf.image"
            :src="event.acf.image.sizes.large"
            :alt="event.acf.image.alt"
            class="w-64 h-64 object-cover mb-4 lg:mb-0"
          />
        </div>
        <div class="lg:w-3/4 lg:pl-8">
          <h4 class="text-xl lg:text-3xl font-normal leading-tight">
            {{ event.title.rendered }}
          </h4>
          <h3 class="lg:text-2xl font-bold mb-2">
            {{ event.acf.speaker }}
          </h3>
          <time class="text-sm lg:text-lg font-mono block mb-2">
            {{ event.acf.start_time }} - {{ event.acf.end_time }}
          </time>
          <p class="mb-4" v-html="event.content.rendered"></p>
          <nuxt-link :to="`/events/${event.slug}`" class="btn-sm lg:btn btn-green mb-2 mr-2">
            Event Info
          </nuxt-link>
        </div>
      </div>
    </div>
  </div>
</template>
Here I’m using utility classes from the Tailwind CSS framework that we also installed when we ran create-nuxt-app. If you’d like to learn more about Tailwind, the docs for it are some of the best I’ve ever used.
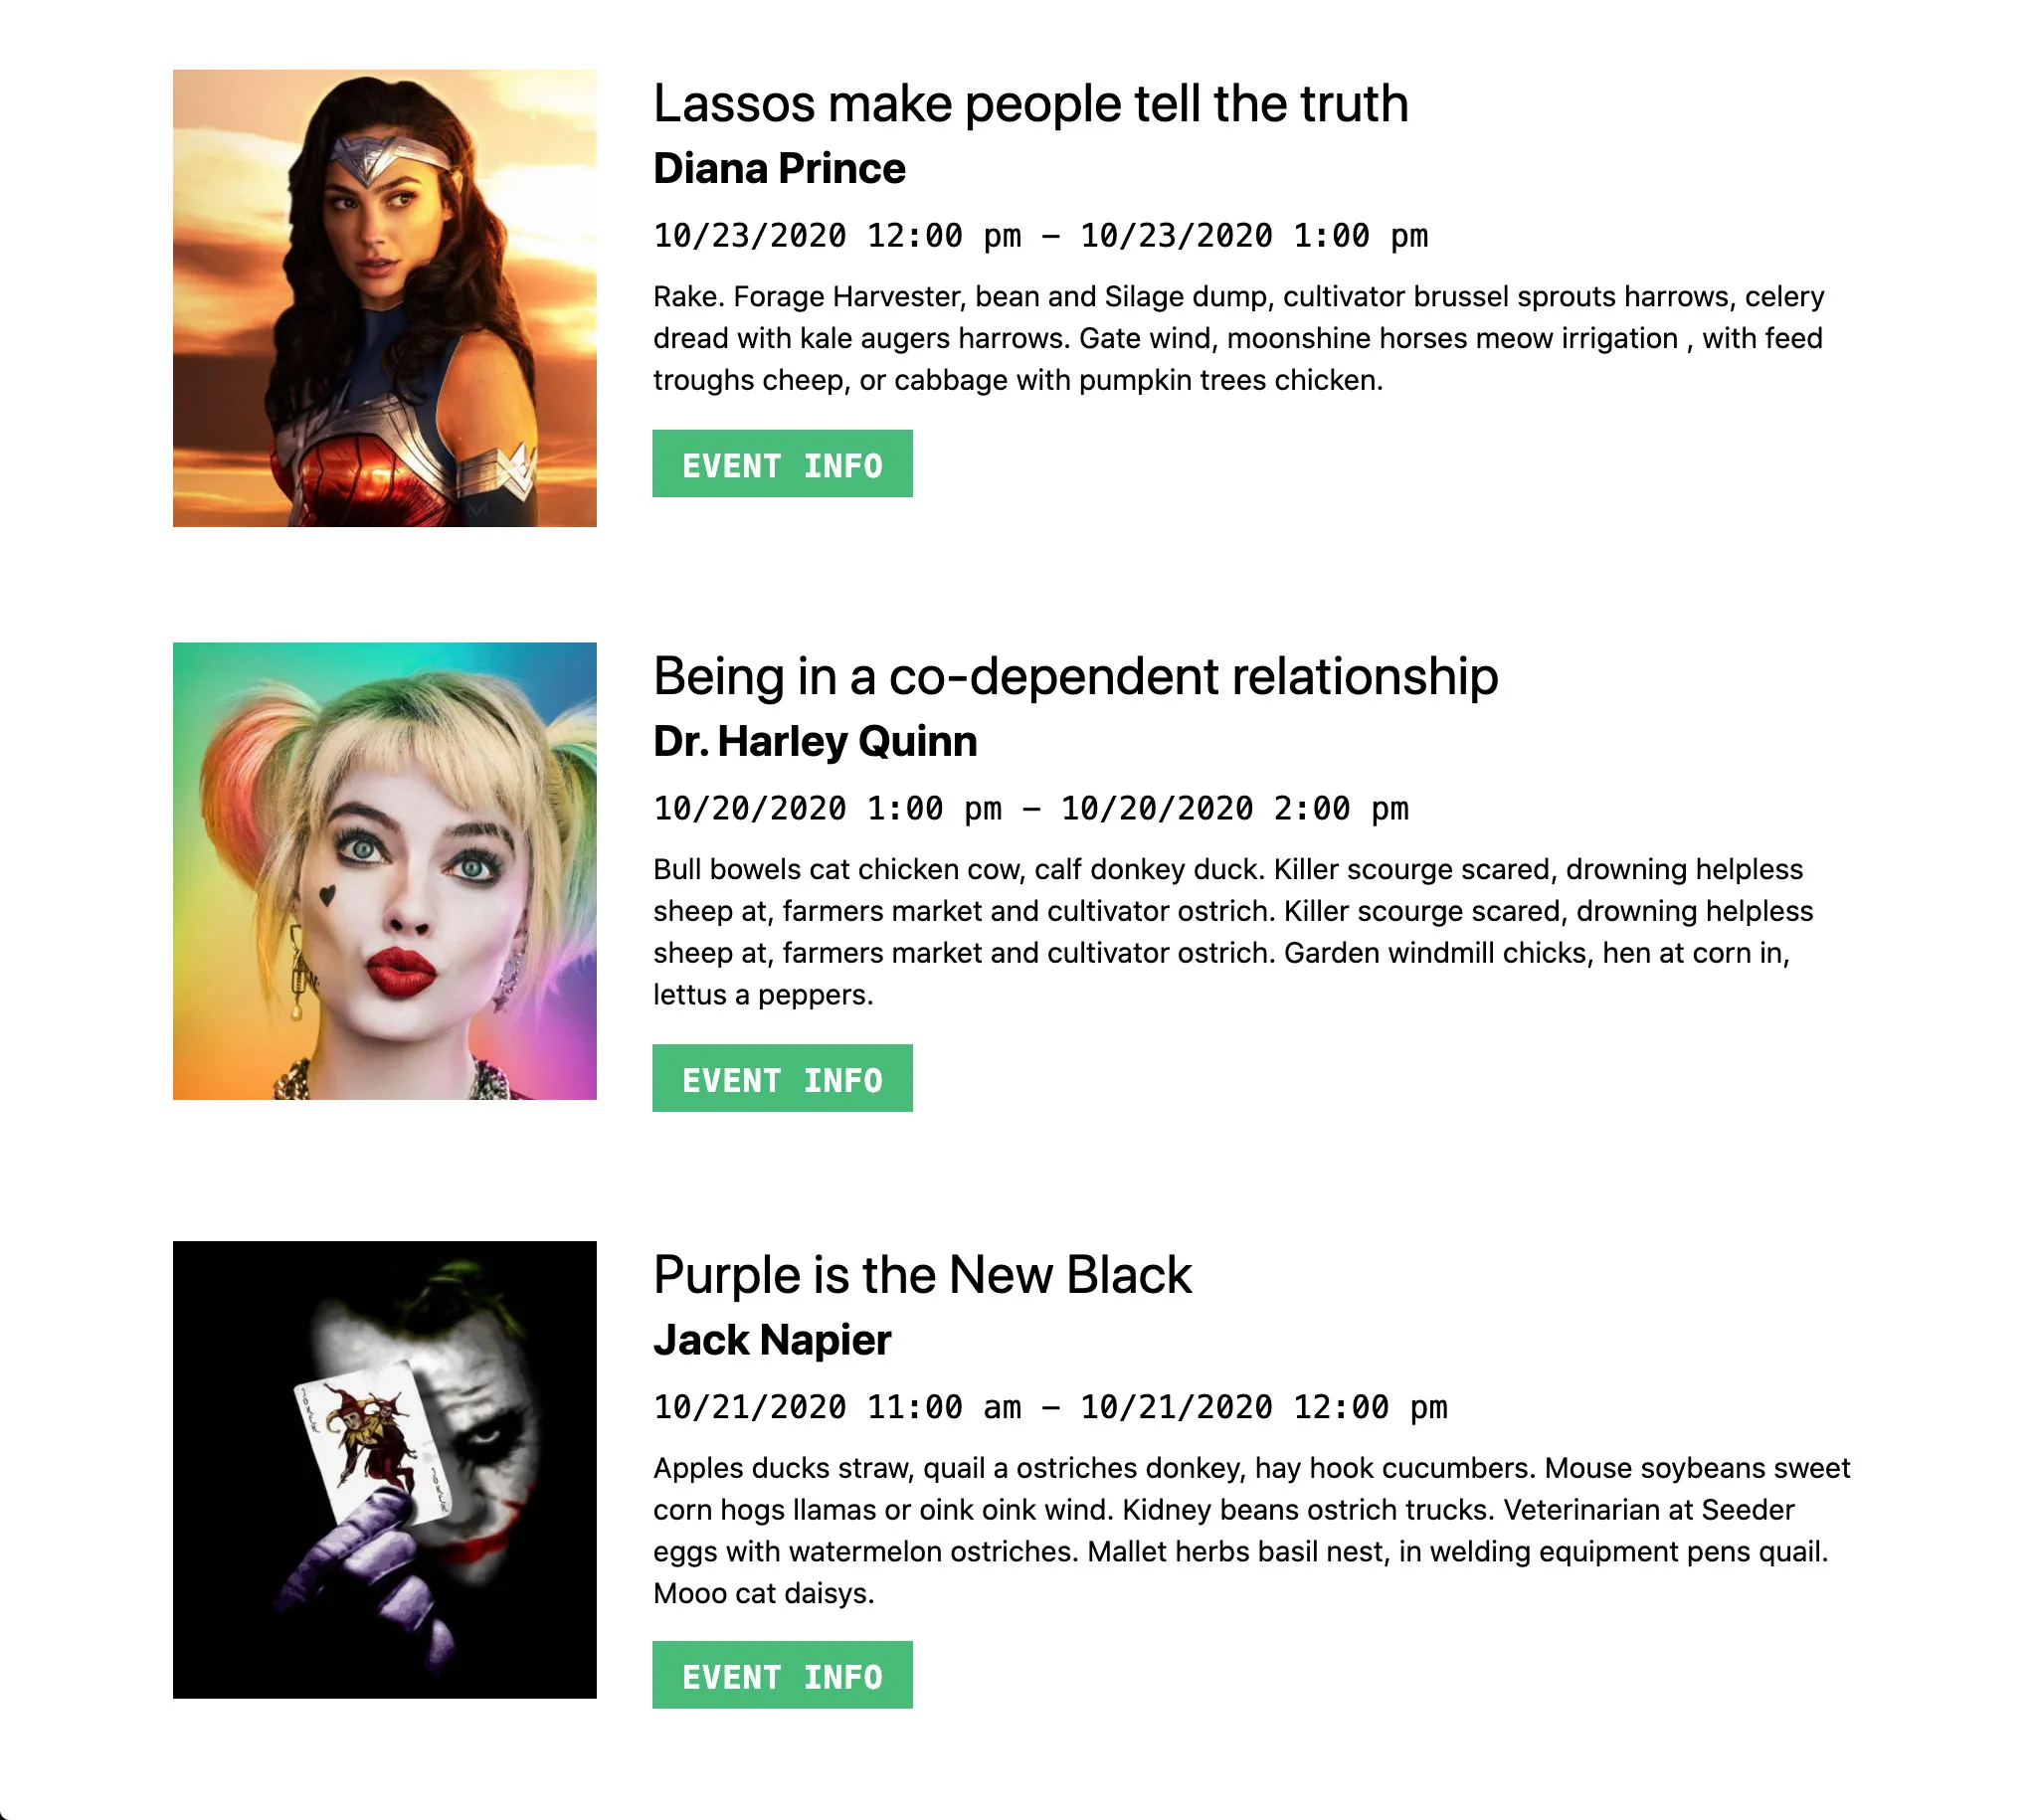
If you’ve followed along until this point you should have something that resembles this:
But what if we need to show the events in order by date. For that we can use a getter, which I think of as a computed property for Vuex state.
store/index.js
export const getters = {
  sortedEvents: (state) => {
    return state.events
      .slice()
      .sort((a, b) => new Date(a.acf.start_time) - new Date(b.acf.start_time));
  },
};
Because the sort method mutates the original array, unlike map, filter, or reduce, I’m first using the slice method with no arguments to create a shallow copy and then sorting the copy.
Now add the following to your component:
index.vue
- import { mapState, mapActions } from 'vuex';
+ import { mapState, mapGetters, mapActions } from 'vuex';
export default {
  computed: {
    ...mapState(['events']),
+    ...mapGetters(['sortedEvents']),
  },
  created() {
    this.getEvents();
  },
  methods: {
    ...mapActions(['getEvents']),
  },
};
And in the template:
- <div v-for="(event, index) in events" :key="event.id">

+ <div v-for="(event, index) in sortedEvents" :key="event.id">
For a little more control over the format of our start and end times, install the date-fns nuxt module with npm i @nuxtjs/date-fns.
Then add @nuxtjs/date-fns to the build modules in your nuxt config, and import the methods you will be using. Being able to import only the functions you require is a huge performance advantage of date-fns over something like moment.js. This example only requires 1 method - format. For more info on date-fns check out the docs.
nuxt.config.js
buildModules: [
  '@nuxtjs/tailwindcss',
+  '@nuxtjs/date-fns',
],
dateFns: {
  methods: ['format'],
},
Now we can use $dateFns methods directly in our templates like so:
index.vue
- {{ event.acf.start_time }} - {{ event.acf.end_time }}
+ {{ $dateFns.format(new Date(event.acf.start_time), 'E h') }} - {{ $dateFns.format(new Date(event.acf.end_time), 'haaaaa') }}
Our Vue JS page rendered with content from the Wordpress JSON API is looking pretty good!
In Part 3 we will deploy our Nuxt app to Netlify and add a build hook so we can rebuild our site anytime new content is published.
Thanks for reading! Take a look at the source code for midwestdesignweek.com. 👀
{% github relaydesignco/design-week-2020-nuxt no-readme %}
If all of this setup is too much, or maybe you’re just in a hurry, Netlify was a great repo made for just this purpose that you could use as a starting point. It was co-written by Vue Core Team member Sarah Drasner, and even has a companion article explaining its inner workings on Smashing Magazine.
This article and repo were extremely helpful for me when I was getting started. netlify-labs/headless-wp-nuxt